On this page
Introduction
Opencode is a free and open-source AI programming assistant.
It provides a local TUI (terminal user interface) that connects to various LLM providers, allowing you to use AI to assist with coding tasks directly from your terminal.
Install
Desktop
Go to https://opencode.ai/download
Terminal
On Windows use Typescript - Bun to install OpenCode.
bun add -g opencode-aiOn Linux and macOS use curl:
curl -fsSL https://opencode.ai/install | bashopencode works as a single binary with no dependencies. The install script automatically detects your operating system and architecture and downloads the correct binary.
You don’t need to worry whether you’re on macOS with Apple Silicon, Linux with Intel, or WSL on Windows.
Provider
With OpenCode you can use any LLM provider by configuring their API keys.
OpenCode is an interface that talks to language models. Without configuring this connection, it cannot do anything.
/connect is an OpenCode TUI command used inside the OpenCode terminal interface to add API credentials for LLM providers.
Type /connect in the prompt
/connectIf you haven’t connected to any provider yet, it will show “No provider connected”.
When you run /connect, OpenCode will display a list of supported LLM providers.
OpenCode shows the active provider and model at the bottom of the screen.
Once the provider is configured, verify it works by typing anything:
> Hello!Credentials are stored in ~/.local/share/opencode/auth.json
”Limited Time” Free Models
You will often see models marked as “Free for a limited time.”
In early 2026, these frequently include:
- Grok Code Fast 1 (via xAI)
- GLM-4.7
- Big Pickle (a specialized stealth coding model)
Models marked as “Free” within the OpenCode interface (provided by Anomaly) usually collect your usage data to train and improve those specific models. If you are working on proprietary company code, it is better to use your own API key or a local model.
Using the Google Gemini API is the smartest way to get “Pro” level coding capabilities in OpenCode without paying a monthly subscription.
In 2026, the free tier for Gemini 2.5 Flash and Gemini 3 Flash-Lite is incredibly generous.
Get your Free API Key:
- Go to Google AI Studio.
- Sign in with your standard Google Account.
- Click on “Get API key” in the left sidebar.
- Click “Create API key in new project”.
- Copy the key immediately and save it somewhere safe.
Since OpenCode supports the official Google AI SDK, connecting is straightforward:
- Select Google from the provider list.
- When prompted for the API Key, paste the key you just copied.
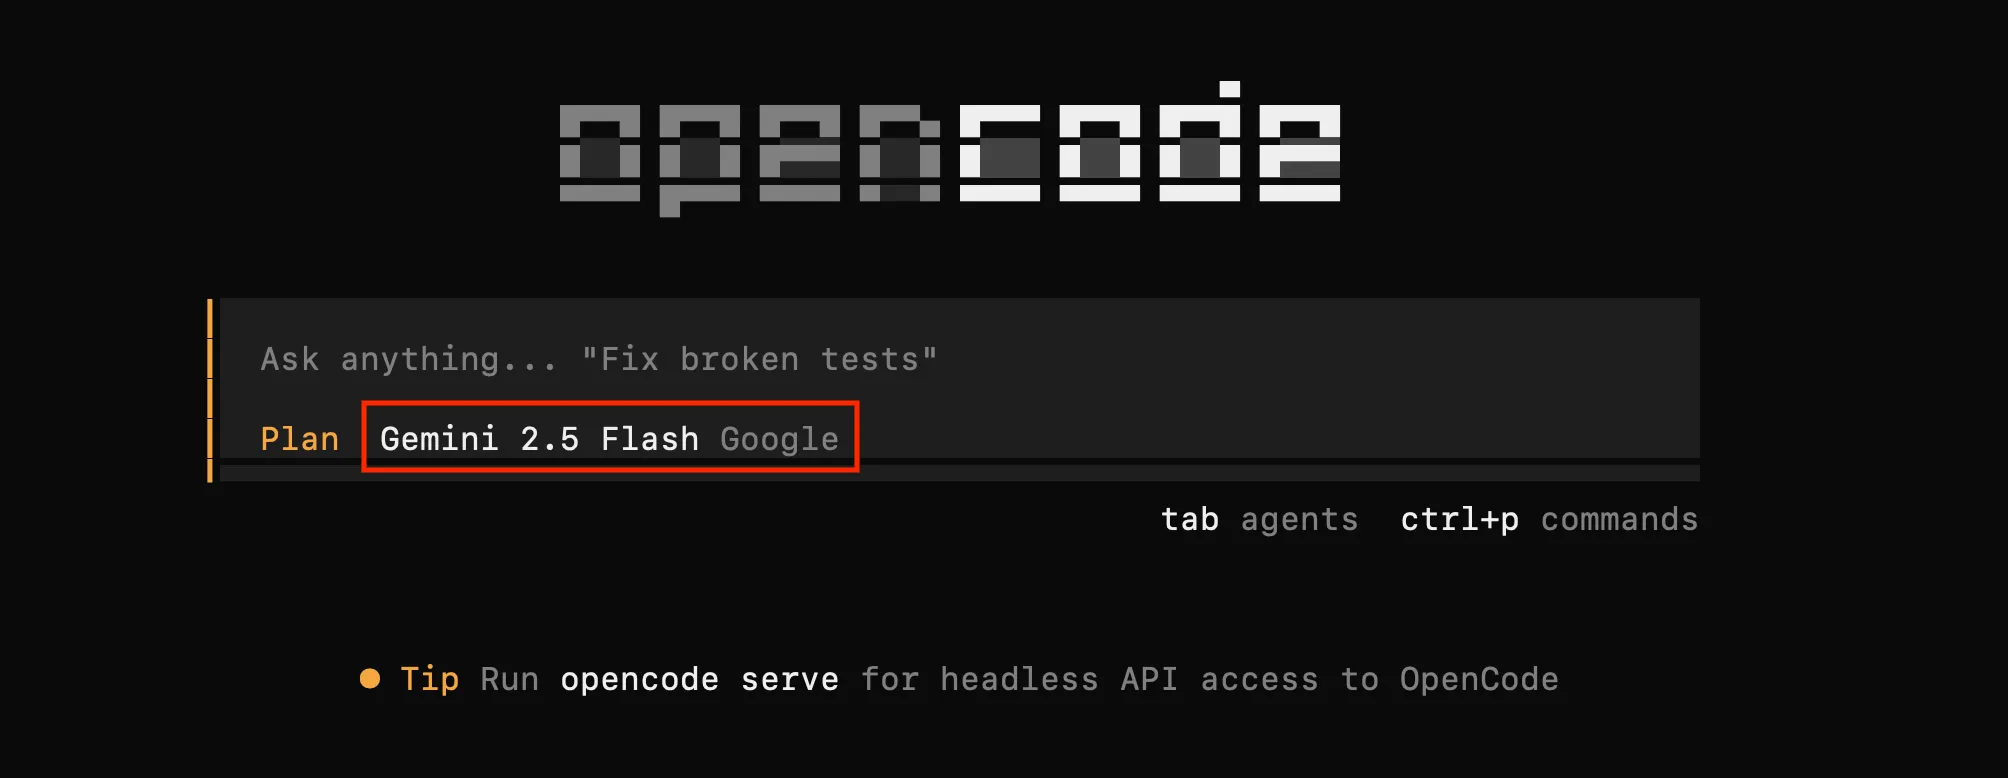
Once connected, use the /models command inside OpenCode to pick your engine.
For the best “Free” experience in 2026, I recommend:
| Model | Why use it? | Free Limit (approx.) |
|---|---|---|
| Gemini 2.5 Flash | Best All-Rounder. Fast and very smart at debugging. | 500 requests / day |
| Gemini 3 Flash-Lite | Speed Demon. Great for simple refactoring or unit tests. | 1,000 requests / day |
| Gemini 2.5 Pro | Heavy Lifter. Best for complex logic and huge files. | 100 requests / day |
Select model Gemini 2.5 Flash.
/modelsGitHub Copilot
GitHub Copilot has two free tiers:
| Copilot Free | Copilot Student Pack | |
|---|---|---|
| Who | Anyone with a GitHub account | Verified students |
| Usage limits | ~2,000 completions + 50 chat messages / month | Unlimited (same as Copilot Pro) |
| Models | GPT-4o-mini, Claude 3.5 Sonnet (with quotas) | GPT-4o, Claude 3.5 Sonnet, Gemini 1.5 Pro |
| Premium models | Not available | Some restricted (e.g., GPT-5.4, Claude Opus) |
Connecting OpenCode to GitHub Copilot with the Student Pack is the most powerful “pro” setup you can get for $0.
Before connecting, ensure your student status is verified:
- Visit the GitHub Education portal.
- Ensure you have claimed the GitHub Copilot Student plan.
- Go to your GitHub Copilot Settings and ensure “Copilot in the CLI” and “External Agent Access” are enabled (they are usually by default).
Type /connect in the prompt:
- Use the arrow keys to select GitHub Copilot.
- OpenCode will generate a temporary device code (e.g.,
ABCD-1234). - It will provide a link (usually
github.com/login/device). - Open the link in your browser, paste the code, and Authorize OpenCode.
The Student Pack gives you access to specific models.
Inside the OpenCode TUI, type:
/modelsYou will see models prefixed with github/.
Because you are on the Student Plan, look for:
github/gpt-4o(Standard pro model)github/claude-3.5-sonnet(The gold standard for coding)github/gemini-1.5-pro(Great for massive context windows)
As of March 2026, some “Ultra” models (like GPT-5.4 or Claude Opus) may be restricted on the free Student plan, but Sonnet 3.5 remains available and is the best choice for OpenCode.
Usage
Since OpenCode authenticates via your GitHub account, all requests are counted against your GitHub Copilot subscription.
To check your current usage, go to GitHub Settings → Copilot. The dashboard shows your monthly completions and chat messages consumed, and whether you are close to any limits.
On the Student Pack (equivalent to Copilot Pro), there are no hard monthly caps on standard models like github/claude-3.5-sonnet or github/gpt-4o, so the dashboard is mainly useful for auditing activity rather than avoiding a cutoff.
OpenCode Bar (macOS only)
OpenCode Bar is a macOS menu bar app that shows real-time token usage, quota windows, pay-as-you-go spend, and monthly cost projections across all connected providers — without needing to open any provider dashboard.
Install it from the releases page or via Homebrew:
brew install --cask opencode-barOnce running, it automatically detects active OpenCode sessions and updates the menu bar icon as you make requests. Clicking the icon shows a breakdown by provider and model for the current billing period.
Workflow
OpenCode is not a tool you open, ask something, and close. It has a workflow that, once you internalize it, becomes almost automatic.
The workflow has four phases:
- Setup: Configure the connection with the language model. You do this once per machine and forget about it.
- Explore: Before touching code you don’t know, investigate. Use Plan mode to understand what’s there and how it works.
- Act: When you’re clear on what you want to do, switch to Build mode and execute.
- Verify: After each significant change, check that everything works. If something fails, undo with
/undo.
This flow seems obvious, but you’d be surprised how many developers skip the exploration phase and go straight to modifying code.
Session
To create a new session in OpenCode, use the /new command inside the TUI:
/newThis starts a fresh conversation.
Your previous sessions are preserved and you can switch back to them with /sessions .
Windows
Paste: Ctrl + Shift + Right Click